
It was one of those whirlwind days when I found myself juggling a billion things at once. Camila had spilled flour all over the kitchen counter while trying to help make cookies, and Mateo was excitedly asking if we could have spaghetti for dinner. Between cleaning up the chaos and making sure my little helpers didn’t turn the kitchen into a flourbomb zone, I needed something quick yet satisfying. That’s when the idea of my Creamy Beef and Bowtie Pasta popped into my mind. It’s a dish that not only brings all of us together but is also a hit, ensuring my husband Luis thinks of me as Super Mom—even if the kitchen looks like a tornado hit it!
Why I Love Making Creamy Beef and Bowtie Pasta
This creamy delight is always a favorite in our household for a few heartfelt reasons. First, it’s a one-pan wonder—less mess, fewer dishes! As a mom, I treasure any moments I can save from scrubbing pots and pans. Second, Mateo and Camila absolutely love the fun bowtie pasta shape. There’s just something about twirling those little butterflies in creamy sauce that makes our dinners feel a bit more special. Lastly, the flavor melding of the ground beef and creamy sauce makes it a cozy hug in a bowl, perfect for those family moments we cherish after a long day.
What I Use to Make Creamy Beef and Bowtie Pasta
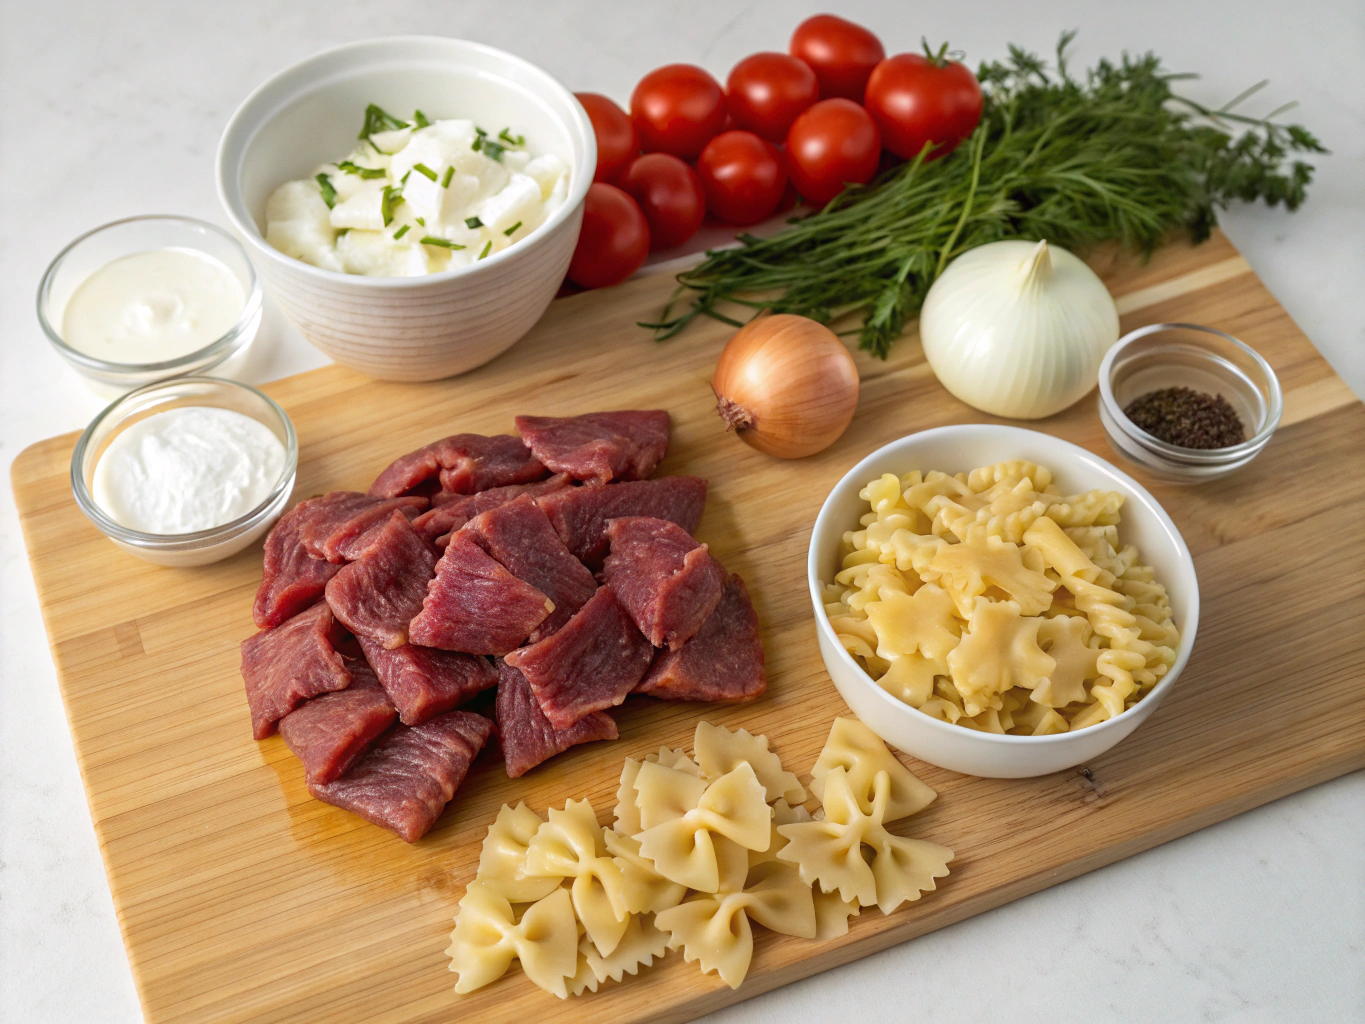
– 12 oz bowtie pasta
– 1 lb ground beef (lean)
– 1 tsp garlic powder
– 1 tsp onion powder
– 1 tsp Italian seasoning
– 1 cup onion (chopped)
– 1 cup beef broth
– 1 cup heavy cream
– 1 cup parmesan cheese (grated)
– 1 tsp salt (to taste)
– 1 tsp black pepper (to taste)
– 1 tbsp parsley (chopped, for garnish)
My Favorite Ingredient Swaps for Creamy Beef and Bowtie Pasta
Getting creative in the kitchen is not just a joy; it also helps tailor the dish to our family’s tastes! If I don’t have bowtie pasta on hand, using penne or fusilli works equally well. Sometimes I sneak in extra veggies—like spinach, zucchini, or bell peppers—boosting the nutrition while still keeping it delicious. Another favorite swap is using ground turkey or chicken instead of beef for a lighter version. I often experiment with different cheeses too. Fresh mozzarella provides a melty surprise, and my kids love that!
How I Make Creamy Beef and Bowtie Pasta
Step 1: Cook the Pasta
Start by boiling a pot of salted water and cooking the bowtie pasta according to package instructions. Drain it when it’s al dente, and don’t forget to save a bit of the pasta water in case we need it later!
Step 2: Brown the Beef
In a large skillet over medium heat, brown the ground beef until it’s cooked through and no longer pink. Don’t forget to drain any excess fat—it’ll help keep the sauce from being too greasy!
Step 3: Add Onions and Spices
Next, add the chopped onion, garlic powder, onion powder, Italian seasoning, salt, and pepper to the skillet. Cook everything until the onions become translucent, about 3-4 minutes. This step fills the kitchen with such a warm aroma; even the kids notice!
Step 4: Create the Creamy Sauce
Pour in the beef broth and heavy cream, allowing the mixture to come to a gentle simmer. Let it cook for about 5-7 minutes until the sauce thickens slightly and all the flavors meld together beautifully.
Step 5: Stir in Cheese
Once the sauce has thickened, stir in the grated parmesan cheese until it melts and becomes one luscious creamy sauce. The cheese adds such richness, making it irresistible!
Step 6: Combine Pasta and Sauce
Now it’s time to bring everything together! Add the cooked bowtie pasta to the skillet, tossing it gently until every piece is coated with that dreamy sauce. If it looks a bit thick, a splash of reserved pasta water can save the day!
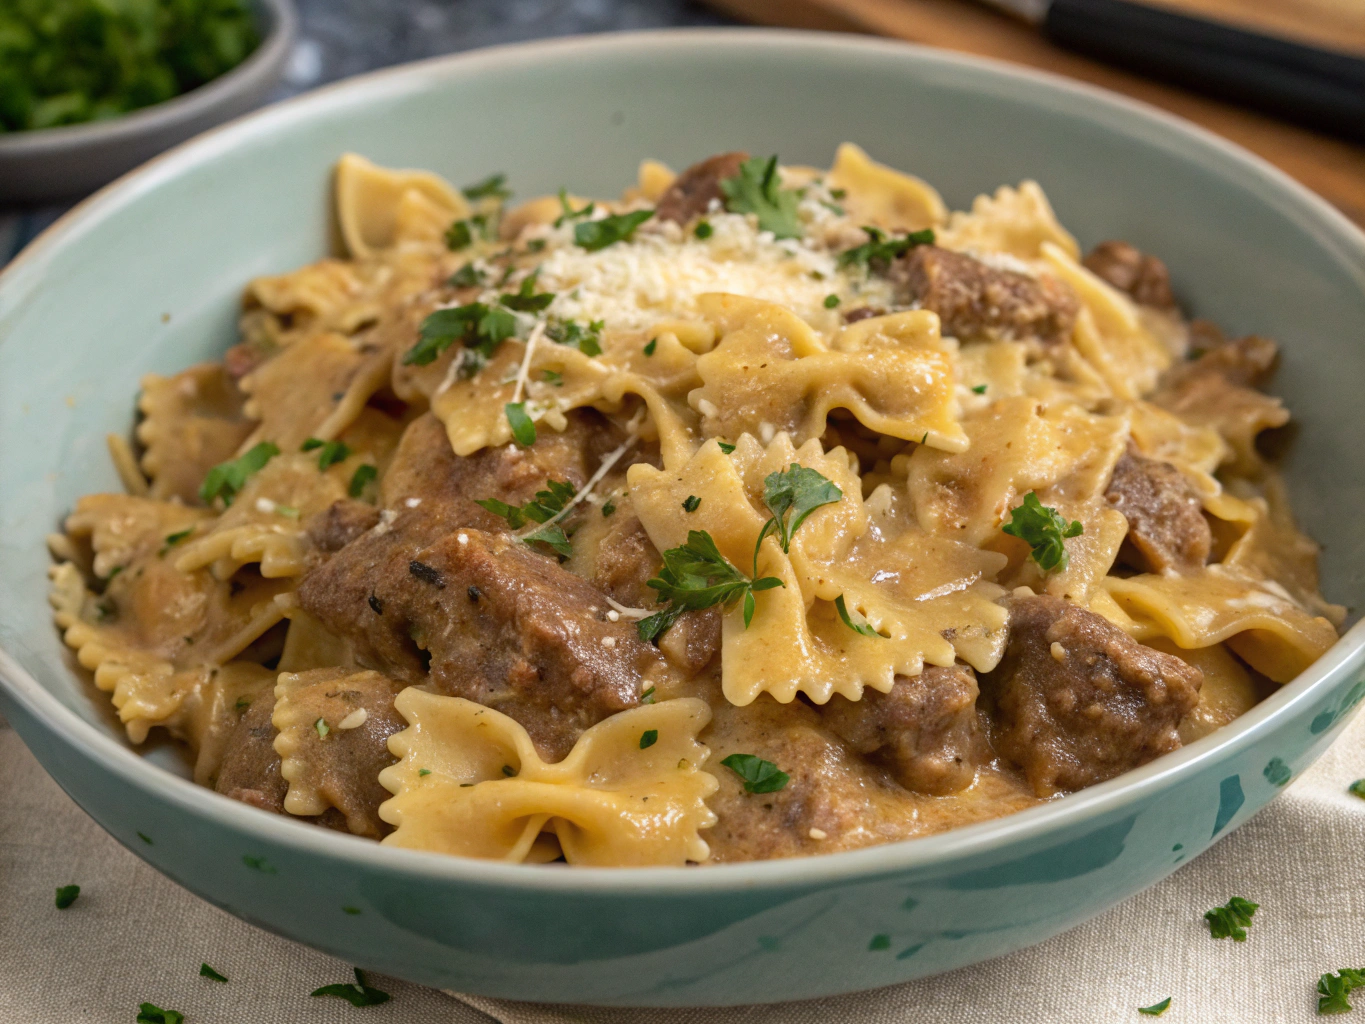
Step 7: Garnish and Serve
Serve hot, garnished with fresh chopped parsley for a pop of color and extra flavor. Watch as your family dives in, just like my Mateo does, asking for seconds before they’ve even finished their first helping!
How We Serve Creamy Beef and Bowtie Pasta at Home
Our family loves a cozy dinner atmosphere, so I like to serve this dish in warm bowls right from the skillet. Sometimes, we add a side of garlic bread or a simple salad to complete the meal, making it feel like a special occasion. There’s something about sharing meals family-style at the table—Luis often teases the kids that they need to take a big bite for good luck, and it lights up the room with laughter!
What I’ve Learned Making Creamy Beef and Bowtie Pasta Over and Over
One of the biggest mistakes I’ve made was getting the onions too brown and smoky—it can overshadow the dish’s light, creamy flavor. I’ve also overcooked the pasta before, which turns into a mushy mess rather than the delightful texture we adore. Lastly, I’ve learned that it’s important to taste as you go! Adjust seasoning until it’s just right because every palate is different, and mine sure changes depending on the day!
Keeping Creamy Beef and Bowtie Pasta Fresh in My Kitchen
Leftovers, if there are any (which is rare!), can be stored in an airtight container in the fridge for up to three days. I love reheating it on the stove with a splash of cream to revive the sauce’s luscious consistency. If I think I might need a meal for later in the week, I freeze portions in freezer bags. Just thaw in the fridge overnight, and it’s as good as new when reheated!
A Note from Me
This Creamy Beef and Bowtie Pasta isn’t just a recipe; it’s a part of our family story. It reminds me of our crazy kitchen antics, laughter over dinner, and those little moments that make life beautiful. With each spoonful, I’m reminded of the journey we’re on together—flour spills, dinner requests, and all. I hope this dish brings as much joy to your family as it has to mine.
FAQs about Creamy Beef and Bowtie Pasta
Can I substitute ground beef with other meats?
Absolutely! Ground turkey or chicken works wonderfully for a lighter option, and it can be just as flavorful. For vegetarian versions, try using lentils or chopped mushrooms for added texture.
How can I make this dish gluten-free?
To make this a gluten-free meal, simply swap the bowtie pasta for a gluten-free variety. There are many delicious options available now, including ones made from chickpeas or lentils.
Can I freeze leftover Creamy Beef and Bowtie Pasta?
Yes, you can! Just store the leftovers in airtight containers or freezer bags. It should keep well for up to 3 months. Let it thaw in the fridge, then reheat gently on the stove with a bit of cream or broth to restore the creamy texture.
What makes this dish a comfort food?
Creamy Beef and Bowtie Pasta is the ultimate comfort food thanks to its rich flavors, satisfying textures, and nostalgic connections. The ground beef pasta offers that hearty, filling element, while the creamy sauce adds warmth, making it perfect for family dinners.
What do I serve with Creamy Beef and Bowtie Pasta?
Pair this dish with a side salad or garlic bread to round out the meal. If we’re feeling fancy, a sprinkle of fresh herbs or a squeeze of lemon can add a touch of brightness!
If you give this recipe a try, I’d love to see your take! Leave a comment below or tag @YummyCrafter on Pinterest. Let’s bake joy together!
Creamy Beef and Bowtie Pasta
Equipment
- Large Skillet
- Pot for Pasta
Ingredients
Pasta
- 12 oz bowtie pasta
Beef Mixture
- 1 lb ground beef lean
- 1 tsp garlic powder
- 1 tsp onion powder
- 1 tsp Italian seasoning
- 1 cup onion chopped
Sauce Mixture
- 1 cup beef broth
- 1 cup heavy cream
- 1 cup parmesan cheese grated
- 1 tsp salt to taste
- 1 tsp black pepper to taste
Garnish
- 1 tbsp parsley chopped
Instructions
- Cook the bowtie pasta according to package instructions. Drain and set aside.
- In a large skillet, brown the ground beef over medium heat until fully cooked. Drain excess fat.
- Add chopped onion, garlic powder, onion powder, Italian seasoning, salt, and pepper to the skillet. Cook for about 3-4 minutes until the onions are translucent.
- Pour in beef broth and heavy cream. Bring the mixture to a simmer and cook for 5-7 minutes until slightly thickened.
- Stir in parmesan cheese until melted and well combined.
- Add cooked pasta to the skillet and toss until fully coated with the creamy sauce.
- Serve hot, garnished with chopped parsley.